THE BLACK RIVER VALLEY MODEL RAILROAD WEB SITE
Pasture Corner
Scenicing the Black River Valley layout has always been a chore for me. For that reason I have always been reluctant to build hills or even apply ground cover, shrubs and trees. Inspired by a photo I saw on one of the forum sites that featured a spindly windmill, I decided it was time that I filled in the vacant corner across the mainlines from the Farmer's Union Grain Elevator with something other than the 'dirt brown' latex paint that I use for a base color on the layout. When I found a package of Woodland Scenics cows in my 'People and Things Box' to go with a Walther's Windmill Kit, I decided to construct a pasture scene. This little 'show and tell' is the result of my efforts.
I began the construction process by cutting a few pieces of bead board to raise the area above the tabletop level and give it some definition. I cut the base piece of foam to fill the available area. Then I added blocks of foam to the 'ends' leaving a relatively flat area in the center to locate my windmill and for the pasture.
I used a steak knife with a serrated edge and an X-acto hobby knife to soften the edges of the foam layers.
I used Elmer's white glue to attach the base layer to the layout and some 5-minute Epoxy to glue the rest of the layers to the base.
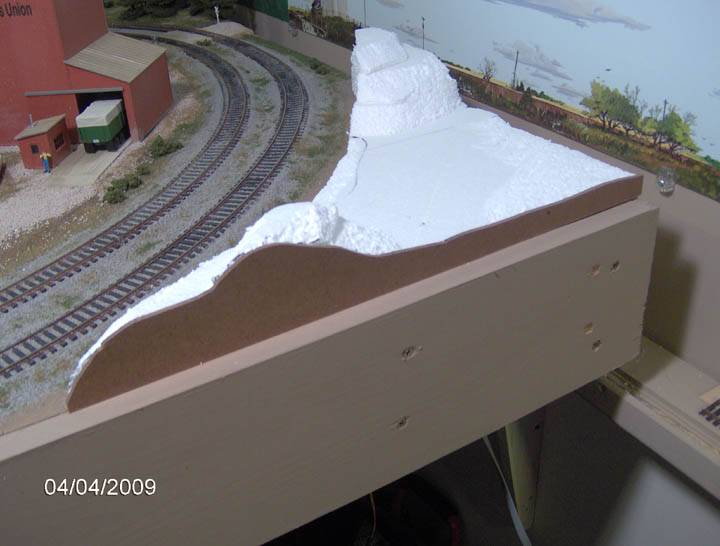
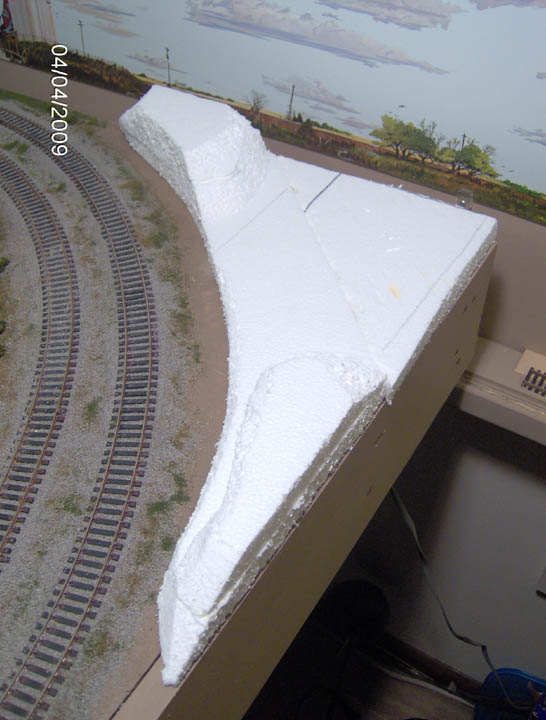
I fabricated a profile board from a piece of Masonite that I had on hand and attached it to the foam with 5-Minute Epoxy as well. I made the board about 1/4-inch higher than the foam to allow for the surface finish.
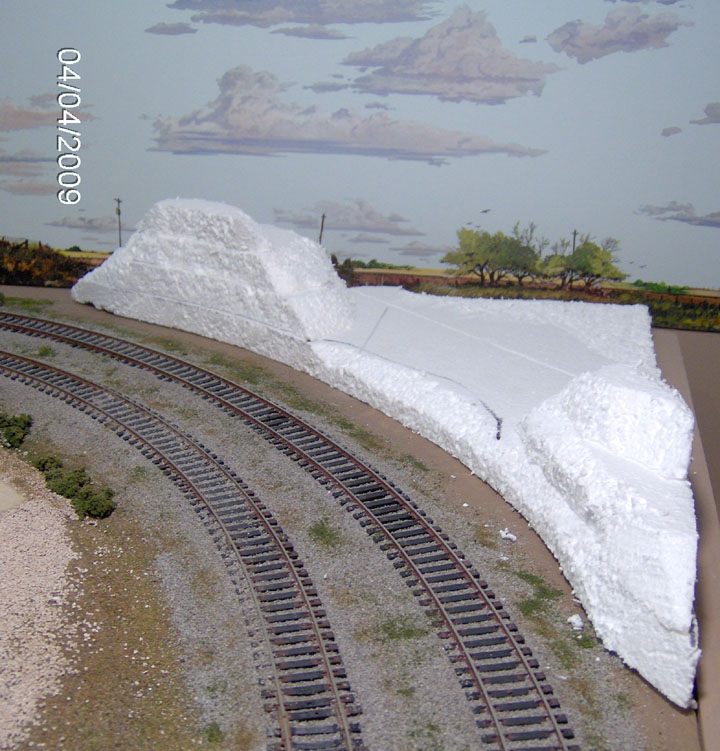
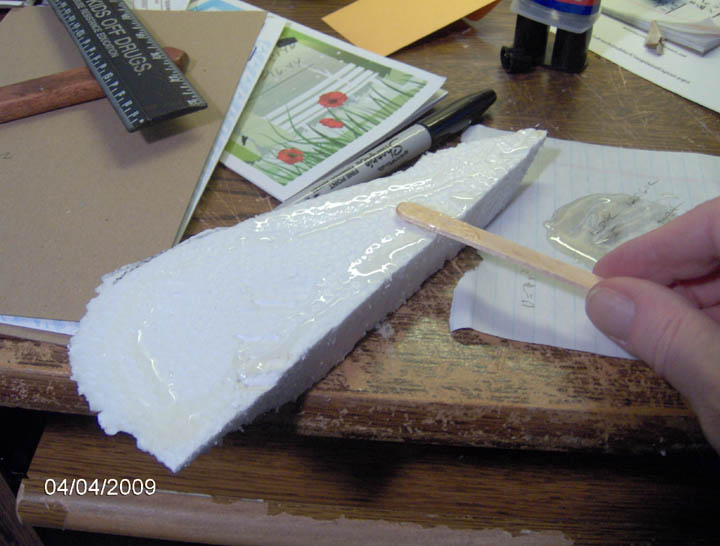
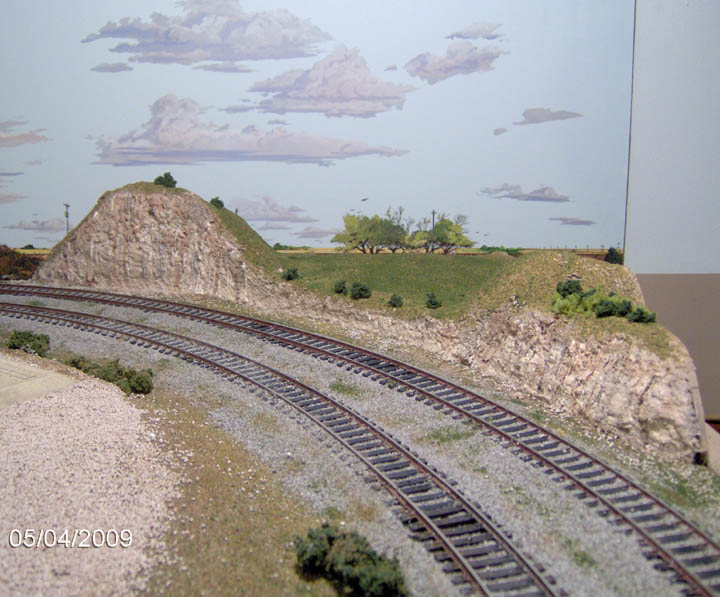
I have always hated working with plaster. It's messy and the curing time forces me to work against a deadline. Plus clean-up is time consuming. I found a package of Sculptamold on sale at one of my local hobby shops and decided to try something different. I was delighted with the Sculptamold. It mixed easier than plaster, applied easily and gave a texture that was both pleasing to the eye and realistic as ground cover. Plus, with a little judicious carving, I got the texture I wanted for the rock face along the right of way. The working time was longer than that of plaster and could be extended by just adding more water. As an added bonus, cleanup was much easier. Removing the over-spill and droplets outside the working area was just a matter of wiping them up or prying them loose after the Sculptamold had dried. The photo above shows the result of my efforts with the Sculptamold.
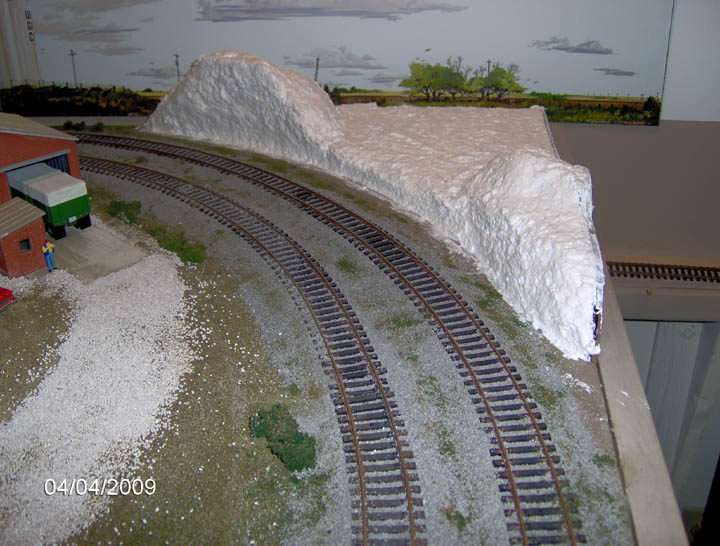
I put down a heavy coat of my 'dirt brown' base paint and sprinkled on Woodland Scenics Blended Turf and various shades of green until I was happy with the appearance. Then I wetted everything down with alcohol and locked the ground cover in place with thinned white glue. The rock face along the cut posed something of a problem. I didn't want to just paint it the dirt base coat color so I decided to experiment a little. I thinned some beige acrylic paint with water and just slopped it onto the face. When I got the coverage I wanted I quit.
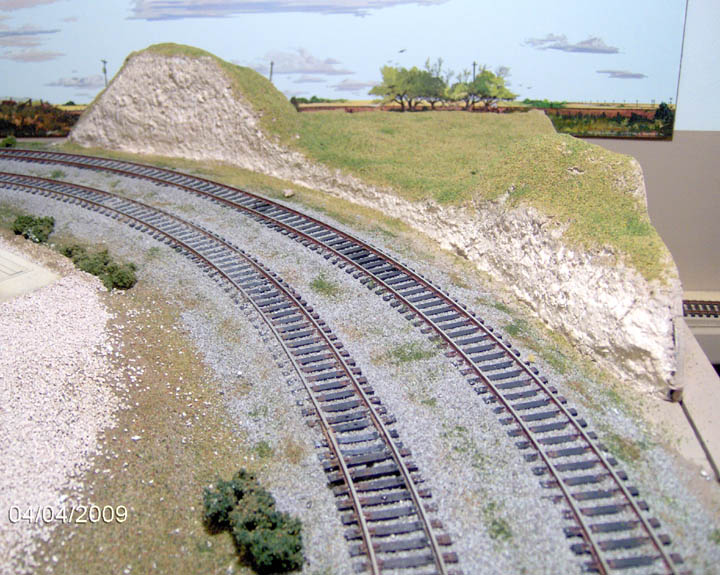
I repeated the above process with a darker brown and even a little thinned black paint. The cumulative effect of the various washes gave the appearance I was looking for. Easier and more effective, I think, than paint and dry brushing. I added a few randomly placed 'bushes' with clump foliage and a few small trees in a couple of different colors to add to the texture of the scene.
You can't have cows wandering onto the right-of-way or falling over the edge of the pasture so I fabricated a fence from several small pieces of grey painted styrene rod and some rust brown thread I found in my wife's sewing box. I made a watering tank from half of a fuel oil tank I found in my parts box.
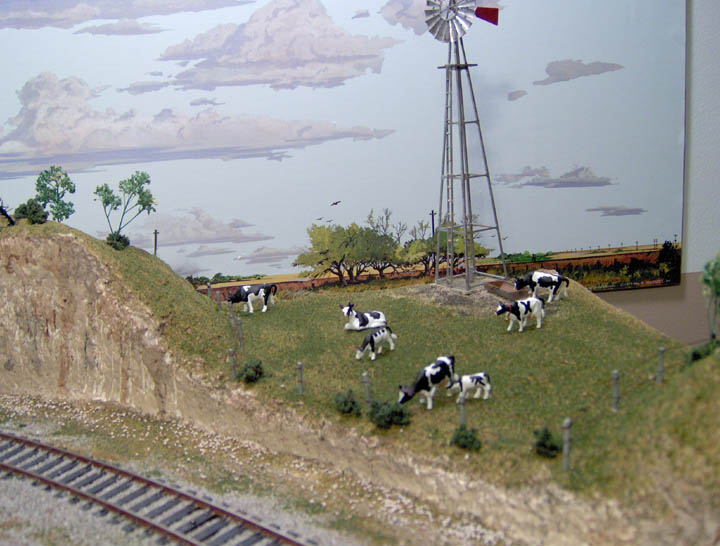
The windmill is a Walther's Van Dyke Windmill kit. I chose to build it 40-scale feet high. While still spindly, it isn't a vulnerable as it would have been at 50-feet or more. I painted the windmill silver/aluminum and weathered it a little with washes of thinned rust and black acrylic paint. A little dry brushing with both colors completed finished it to my satisfaction. I placed it at the back of the scene on a level spot I had purposely built into the landscape for it, where it would be less likely to be broken off.
I placed my Woodland Scenics Holstein cows around the pasture in what I hope are natural groupings and poses.
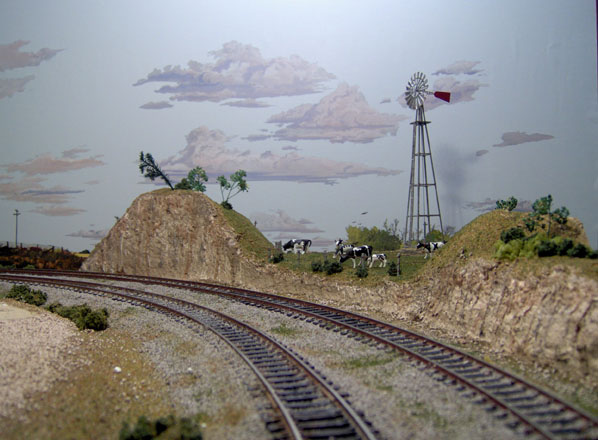
Here is my completed scene. Not bad, if I do say so myself. I actually had fun building this scene. Sculptamold made the whole hill building process much easier and more enjoyable than my old plaster methods. I will certainly use it again when the need arises.